The Great Outdoors
How to build a solar shower for a long road trip in 7 steps
Taking a warm shower while on a long road or camping trip shouldn’t be a luxury. Here’s how to make a solar shower that mounts to the roof of your car.
The biggest thing to pine for when you’re hiking or camping might just be a hot shower.
You’re working up a sweat on the trails, but sometimes it’s days or weeks before you can find an actual bathroom to rinse off in. On hot summer trips, jumping in a lake or stream can get you close, but the clock is ticking as soon as you enter that frigid alpine water, and access is hardly on-demand.
Without running water, your next best option on a summer road trip might be a solar shower. Water isn’t unlimited and the heat isn’t as guaranteed as it might be at home, but these vessels often hold enough to get clean with, and their design helps them attract and trap the sun’s hot rays, giving you just enough warmth to make it pleasant.
What is a solar shower? A homemade design like this one sits on the roof of your vehicle, constantly baking, so on a cross-country road trip, you can park yourself in the sun when it’s time to take a hike and, if you’re lucky, come back to a few gallons of entirely survivable lukewarm water to rinse off in before you get to camp that night.
Building a solar shower doesn’t require much more than a quick trip to the hardware store, either. When you’re done, you’ll have a vessel that holds more than three gallons of water (depending on how big you want it), fills easily, and pressurizes with a bike pump to create a consistent stream when it’s time to use it. Do it right and the whole thing should be sturdy enough to hold (and cook) water for weeks.
I built a solar shower using this same design — spending less than $100 in the process — prior to a two-month road trip to Alaska. I filled it before I left and didn’t need to use it until about halfway through my trip (I thankfully had access to a real shower once or twice before that). But by the time I did, the water was comfortable and the shower was one of the most pleasurable parts of camp life.
Input may receive a portion of sales if you purchase a product through a link in this article. We only include products that have been independently selected by Input's editorial team.
Materials you need
The beauty of making a solar shower out of PVC is that the options for design are limitless, and you can customize it based on the size of your vehicle, where you want to mount it, what you think looks good, and more. For the most part, the pieces and assembly will be the same, but feel free to play around with length, other fittings, etc. For most people, this specific design will work well — it’s what I have mounted on my pickup truck.
You shouldn’t need anything for this build that you can’t get from a local hardware store, or at online retailers like Amazon. Even the tools you need are simple and inexpensive: A saw to cut the PVC, a drill, a ¾-inch circular hole saw, a ⅜-inch drill bit, and a crescent wrench (or another wrench) or two to screw on the hose fittings.
In addition, pick up these parts:
- 5-foot length of 4-inch diameter PVC pipe (typically comes in 10-foot lengths, so it’s best purchased from your local hardware store)

How to build a solar shower
Step 1: Lay out all your PVC pieces in the order they’ll assemble and try to imagine what you’re trying to build. Take some measurements of the top of your vehicle and decide how long or short you want the shower to be, on which side of the car you want to take your showers, and where you want the filling hole, air input, and spigot to be. You can lay it out however best works for you and your vehicle, but I’ll continue the directions with the way I built mine.
Step 2: Cut your PVC pipe down into two sections: For me, these were roughly four inches and 43 inches. Now you should have everything you need to loosely fit together the PVC pieces. Put it together and practice mounting it so that you can confirm the design before it's time to glue it all together.
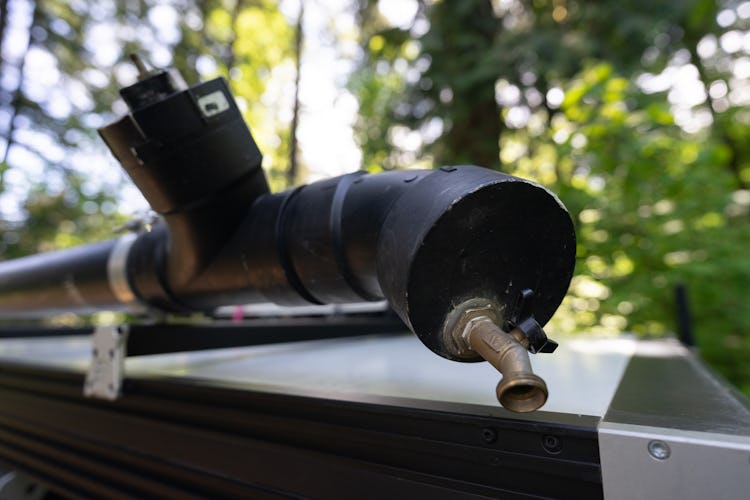
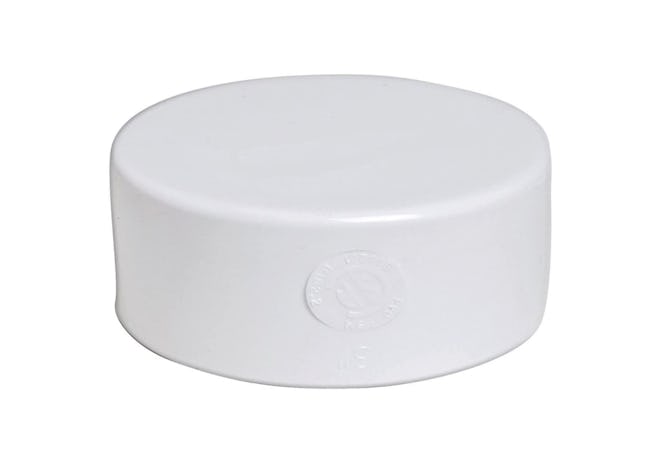
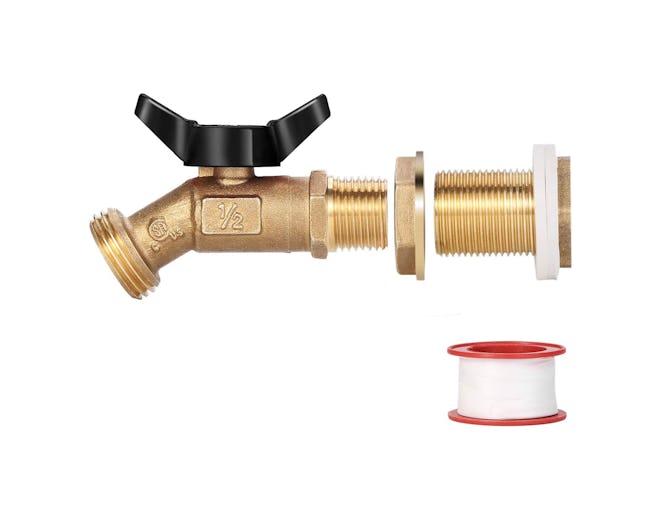
Step 3: Before gluing it, let’s mount the attachments. Take one of the end caps and drill a 3/4-inch hole about one inch from the outside edge. This is where your spigot will mount. Take your spigot and place it into the hole. Before you tighten down the nut on the inside, use a generous amount of silicone on both the inside and outside of the hole to ensure it will be watertight, then tighten down the nut on the inside. Wipe away any excess silicone and let it dry.
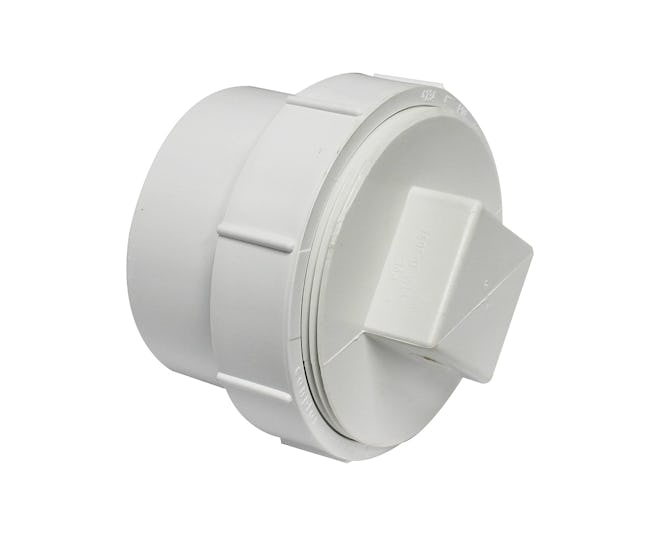
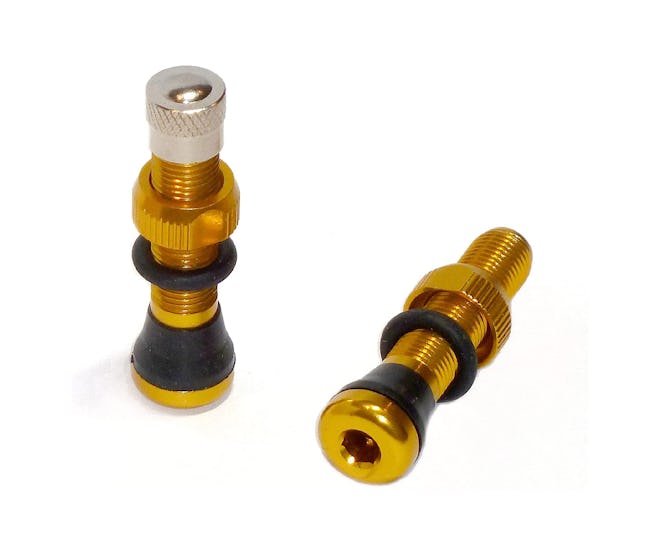
Step 4: Now take the male cap of the cleanout. Drill a ⅜-inch hole in the center of the square protrusion from the top. Insert the Schrader valve and tighten down. Feel free to add a little silicone here, but be careful not to get any inside the valve.
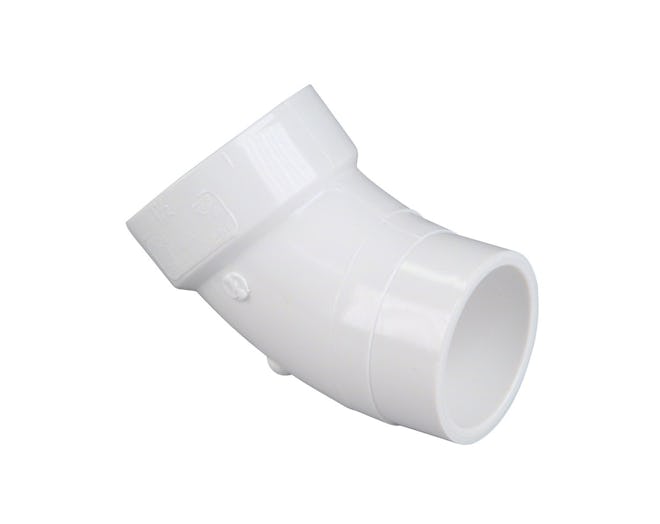
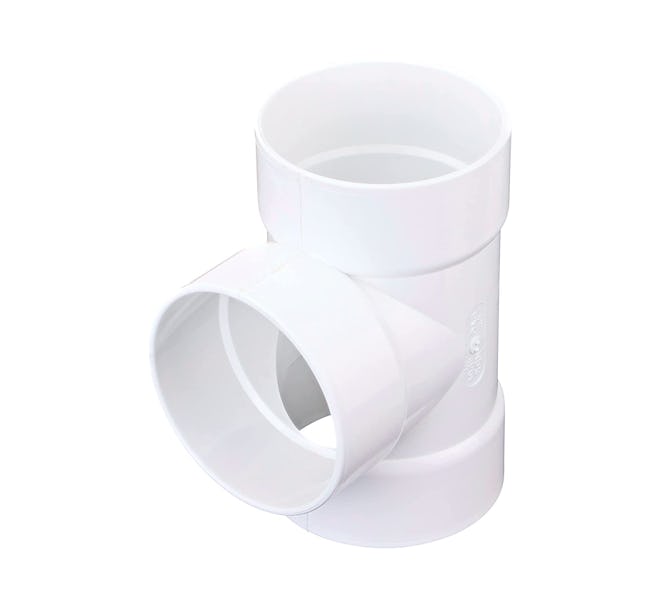
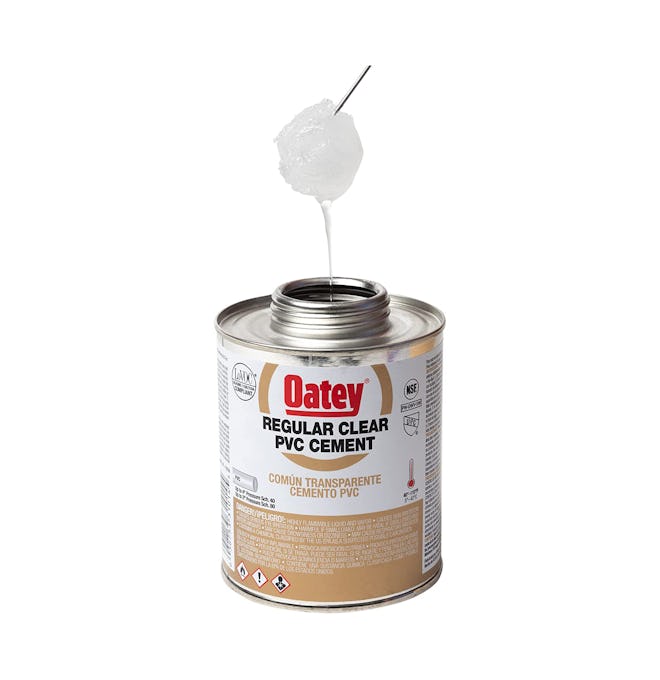
Step 5: It’s time to start gluing. Start by using your PVC cement (follow the directions on the can that you purchase — these are normally glued in two steps) to adhere the un-drilled end cap onto one end of the larger PVC pipe. Glue one of the straight-through ends of the PVC hub to the other end of the big pipe. Glue the female cleanout to the hub, 90-degree from the pipe, and glue the shorter PVC pipe to the final side of the hub. Glue the street elbow to the end of the shorter PVC pipe. I attached mine so that both the spigot and cleanout were angled slightly toward the edge of my vehicle, so that I could access them more easily, but glue them at whatever angle makes sense for your setup. Finally, glue the end cap with the split to the end of the elbow.
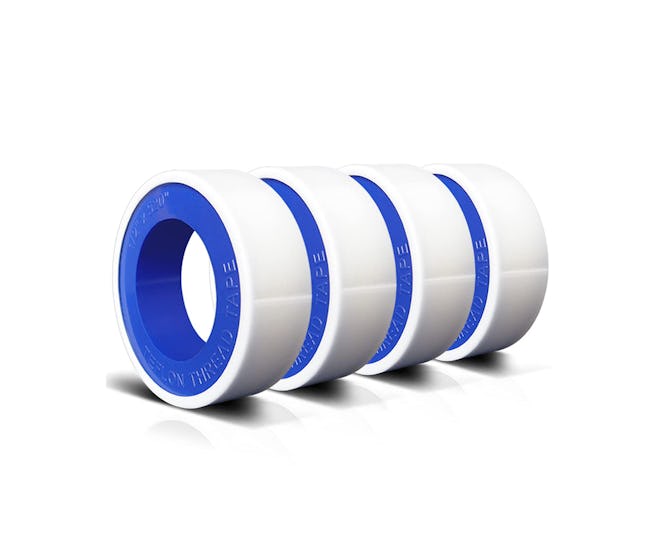
Step 6: Take the threads of the male cleanout plug and wrap them generously with thread tape. Let the whole setup dry as long as is recommended on your PVC cement can (typically about 15 minutes).
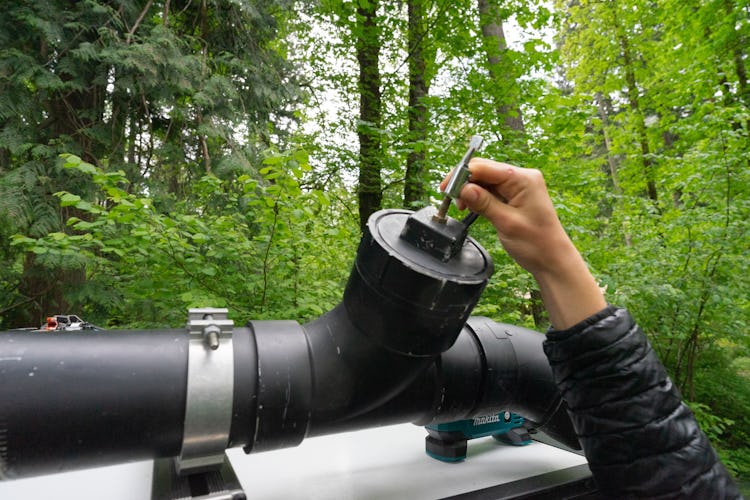
Step 7: Once everything is dried, it’s time to test it. Make sure the spigot is closed and fill it with water through the cleanout. Seal the cleanout and use a bike pump or compressor to pressurize the whole thing to 10 or 15 PSI — no more than that is necessary. Let it sit and check for leaks! If you find any, use repair epoxy to attempt to seal them.
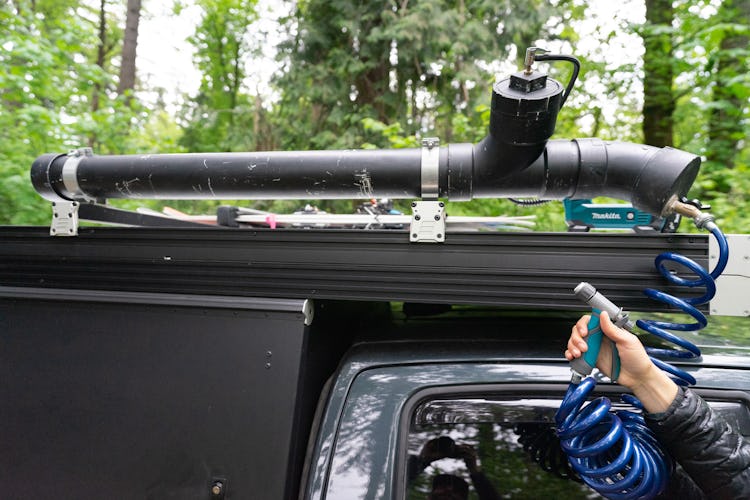
Mounting your solar shower
How you mount your solar shower to your vehicle will depend on you and your setup. If you only plan to have it on your roof occasionally, you can use something as simple as foam blocks and ratchet straps: Just cut indents into the foam blocks in the shape of your PVC so it sits comfortably. Depending on your roof rack, you can also use something like this to bolt the shower directly to your roof bars.
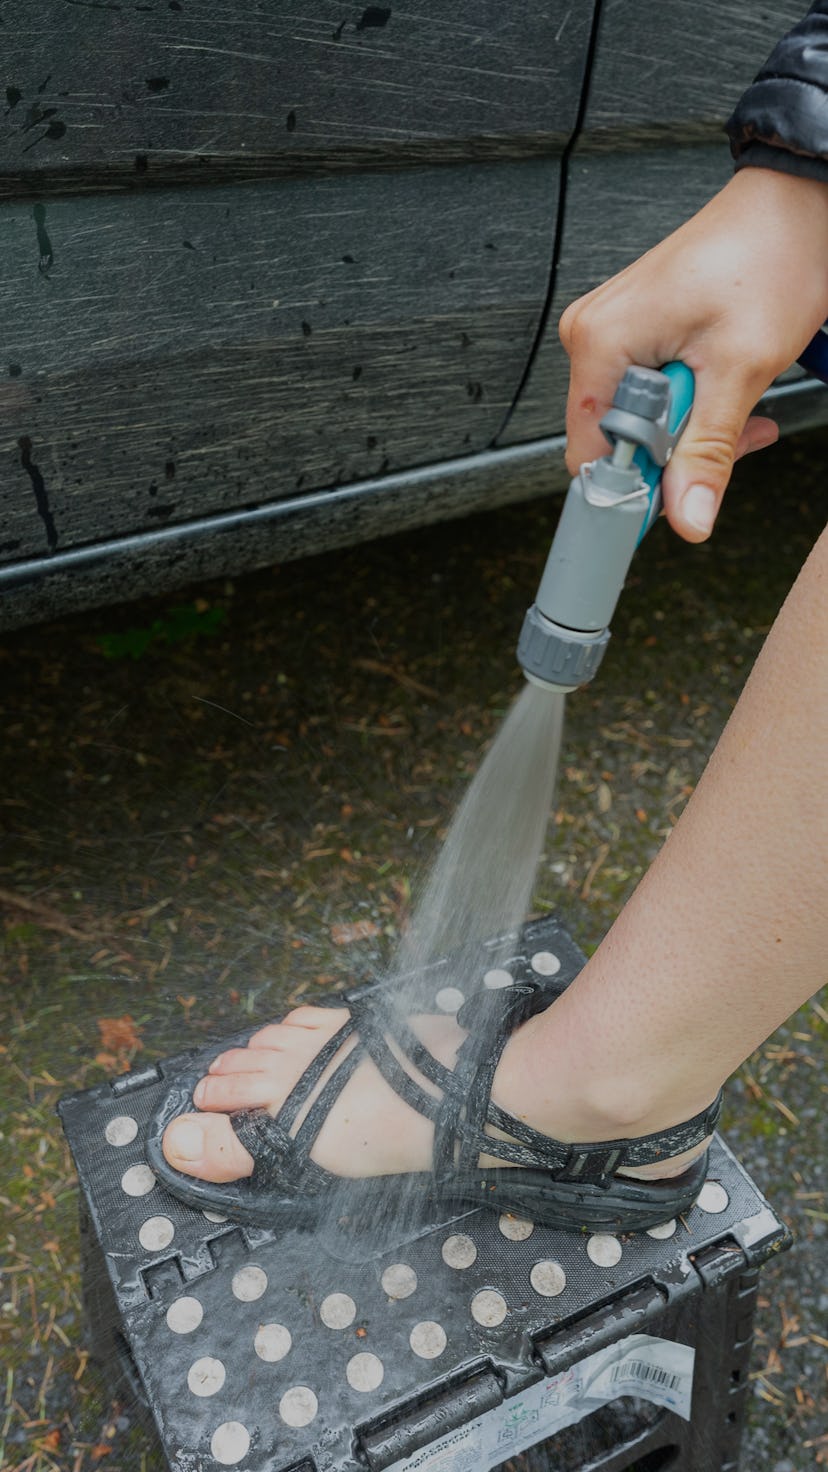
Take a shower
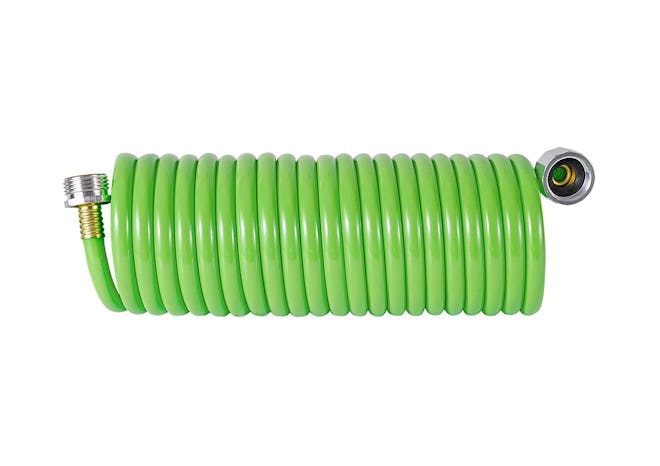
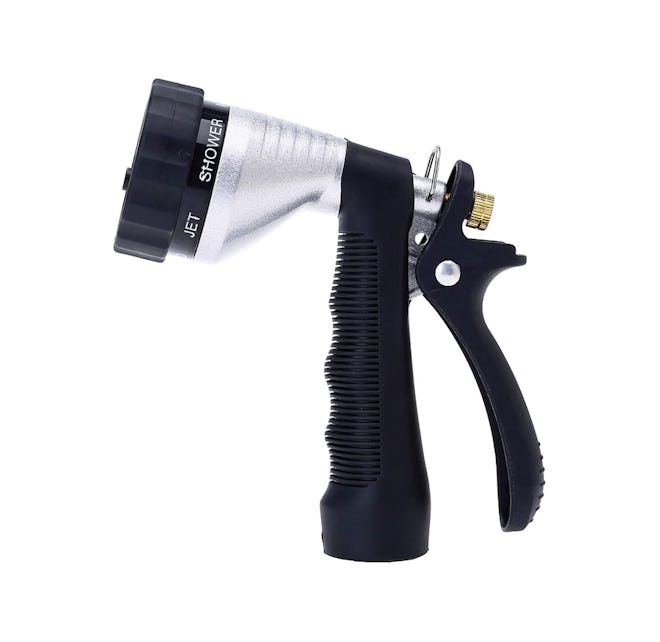
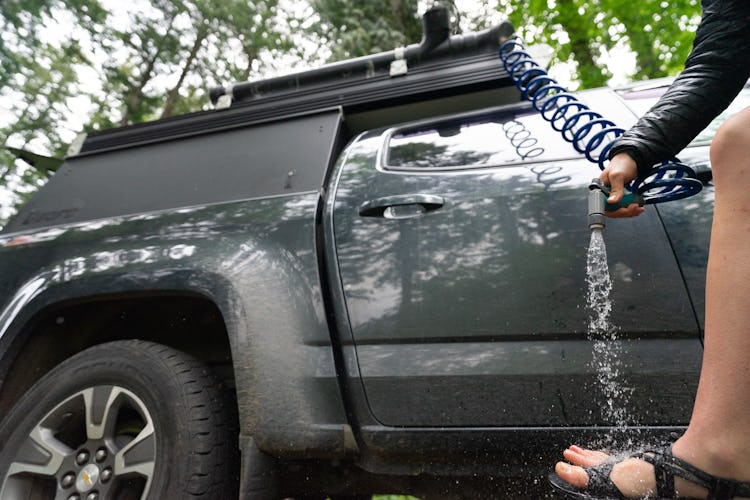
Alright! You did it! When you’ve finally gotten good and stinky (the fun part), it’s time to use the shower. Fill it with water before you head on your trip, but don’t bother pressurizing it. The longer it sits on your roof in the sun, the warmer the water will be. When you want to rinse off, connect your bike pump or air compressor to the Schrader valve and pressurize it to 10 or 15 PSI. Connect your garden hose and nozzle to the spigot, turn it on, and away you go! If you notice the pressure getting a little low, just give it another bump up to 10 or 15 PSI.
