Guides
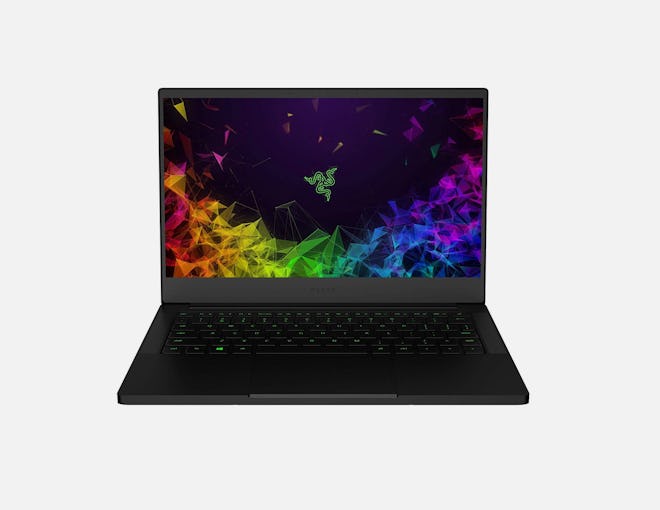
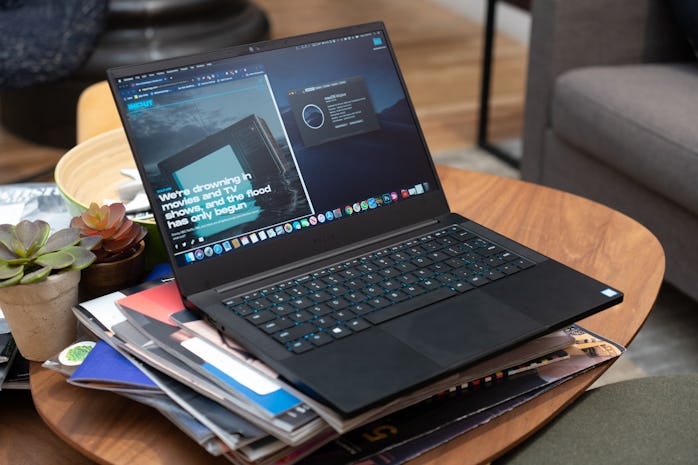
The best hackintosh laptop is the Razer Blade Stealth
I got mine up and running in one weekend.
Is it too much to ask for a bit of power in a 13-inch laptop? And why, in 2020, must I choose between Mac software and the ability to play some games. In these dark times I wonder: will I ever have it all? And what must I sacrifice to get to that hallowed ground?
Fortunately there is an answer, and it really boils down to time and dignity. More specifically it means diving head first into the choppy waters of hackintoshing your laptop, then into the even choppier waters of dual booting Windows and macOS. It’s a nightmare, and I wouldn’t recommend it to anyone who loves themselves.
However, I decided to walk the dark and twisted path of hackintosh in pursuit of better performance in Photoshop. Just getting a 2017 MacBook Pro out of our IT department required moderate arm twisting, but its Kaby Lake processor left me pulling my hair out. Plus I was in need of a new personal laptop, so I thought: this is a project I can waste a weekend on.
And waste an entire weekend I did. Two, in fact. See, getting macOS to run on your laptop isn’t like it was back in the good old days where you just download some sketchy software off the internet and get what you get. No: I spent a weekend just trying to find a laptop with the right qualities: a replaceable Wi-Fi card (most new laptops have unsupported Wi-Fi cards soldered right in), and a recent processor but not the newest, because Apple hasn’t used them in real MacBooks yet.
One thing that has always been true is that, at the upper end, it almost always makes more sense to just buy a MacBook Pro. With modern hackintosh you download the seeds and grow the fruit yourself, but for most people just buying the fruit makes more sense. In this strained metaphor the fruit is a nice laptop that runs macOS. You get it.
I was interested in a hackintosh laptop not to save money, but because I love a challenge and wanted something a little more powerful.
Anyway, I was interested in a hackintosh laptop not to save money, but because I love a challenge and wanted something a little more powerful than what Apple offers. As I said above, simply finding a laptop that’s good for macOS these days isn’t easy, so when I found out that there’s a small community of people supporting the early 2019 Razer Blade Stealth, I had to jump in. It should be noted that you can't actually use the dedicated graphics card in macOS for a few complicated reasons, but you can at least dual boot into Windows for that sweet graphics acceleration.
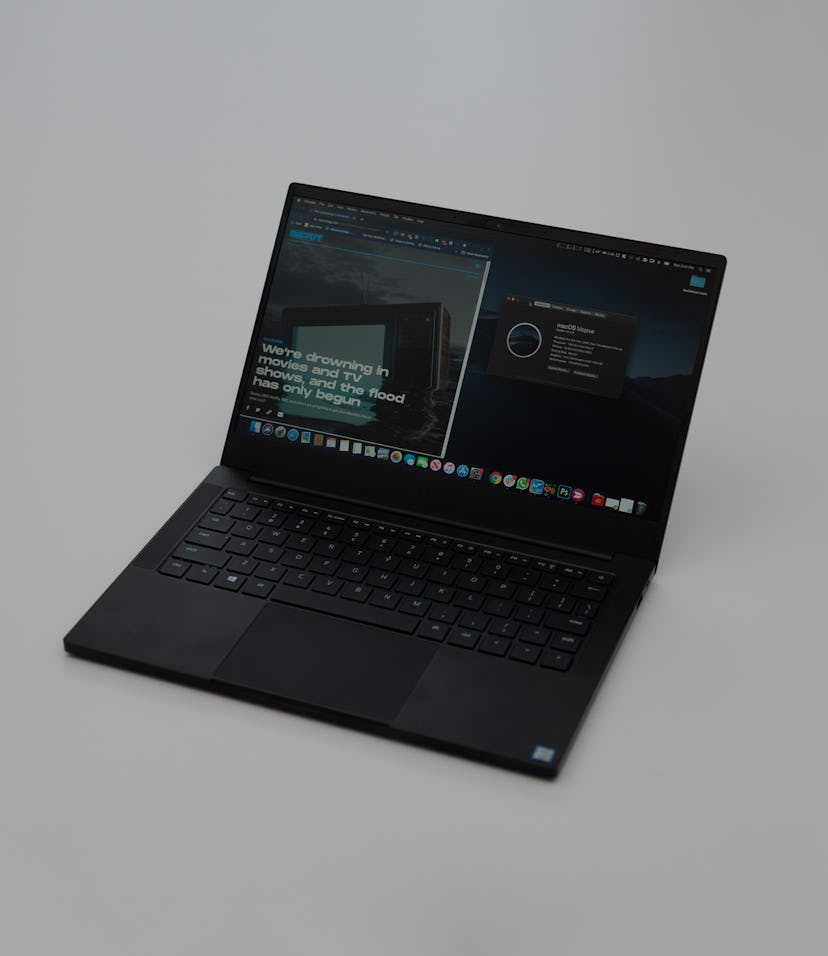
The early 2019 Razer Blade Stealth (henceforth referred to as the Stealth) isn’t the last generation Stealth: it comes with an i7-8565U processor and an Nvidia MX150 graphics card. There is a newer model that uses Intel’s new i7-1065G7 10th generation chip and a GTX 1650 GPU, but this processor isn’t supported by macOS yet. Those new scissor-key 13 inch MacBook Pros may change that, and trust that I will be partaking (eventually.)
But I wanted a faster hackintosh with a dedicated GPU now, so I decided to pick up the older Stealth. I was able to get it up and running macOS Mojave in a weekend, but it wasn’t easy, and I couldn’t have done it without the help of some seriously smart hobbyists out there putting in the real work.
Here's what you need


The macOS part
If this is your first time hackintoshing I’d recommend watching the YouTube video below. There is a lot of ground to cover and it’s helpful to actually watch someone go through the steps, even if this tutorial isn’t specifically geared toward the Stealth.
Then you should look at Stonevil’s GitHub for the early 2019 Razer Blade Advanced, which is a different laptop but close enough that a lot of their tutorial applies. This is what two users on the Tonymacx86 forums adapted for the Stealth, so it’s helpful to see the original work. Just keep Stonevil’s guide open in a tab and refer to it when needed.
Thank you Stonevil, whoever you are.
Finally, visit this post and read the entire thing before asking questions, then look for either NONITS or Elmacci’s EFI folders, which contain all the drivers, ACPI, and config files you need to put on your USB drive to get the system to boot. I’m using some of NONITS files on my 1080p Stealth and almost everything is working swimmingly.
It should be noted that using someone else’s EFI folder, while convenient, presents a few problems. First, as you should have read in the guides above, if your computer and the creator’s differ even slightly (even with as little as a BIOS update), things can get messed up. You should use someone else’s EFI folder to get your computer up and running, then follow the tutorials above to generate your own DSDT and SSDT files. I would also recommend reading all of the sticky threads here.
Actually doing it
At this point you should have followed the tutorials above and created a USB flash drive with the macOS installer of your choice (I’m running Mojave) and installed Clover bootloader and copied over the EFI files from the forums. If any of what I just said seems alien that just means you didn’t read the stuff above. I totally get it, but you’ve got to do it.
Now you’re going to plug your USB drive into one slot and your USB mouse into the other, because the trackpad isn’t going to work during the installation. Then you’re going to power on the Stealth and jam F12 until the boot menu comes up. Choose “UEFI + [your flash drive’s name]” to boot into Clover.
Just format the whole drive as APFS.
Now refer back to the tutorials above to format your SSD and install macOS. With NONITS EFI folder this was extremely straightforward; it basically just worked. One note though: just format your whole drive as APFS, even if you want to dual boot Windows later. Scroll down to the “Windows” section of Stonevil’s GitHub for instructions on dual booting. This really goofed me up, so read carefully.
Now that macOS is installed you’re almost there! So exciting, right? Now all that’s left to do is install Clover on your boot drive and migrate that EFI folder onto your SSD so that you don’t have to rely on your USB drive anymore. Once you do that you’ll be able to boot into macOS like normal.
There are a few things left to do. You should disable hibernation, per Stonevil’s guide, and then you need to generate new serials and board numbers for your Stealth so that you’re not using the same ones as NONITS.
Notes from my experience with the Stealth
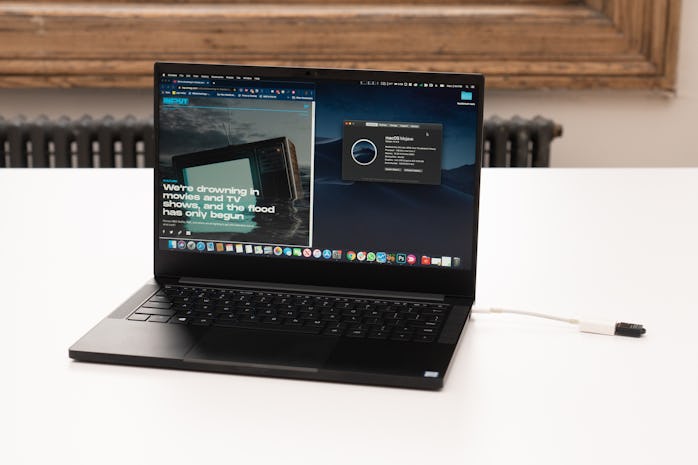
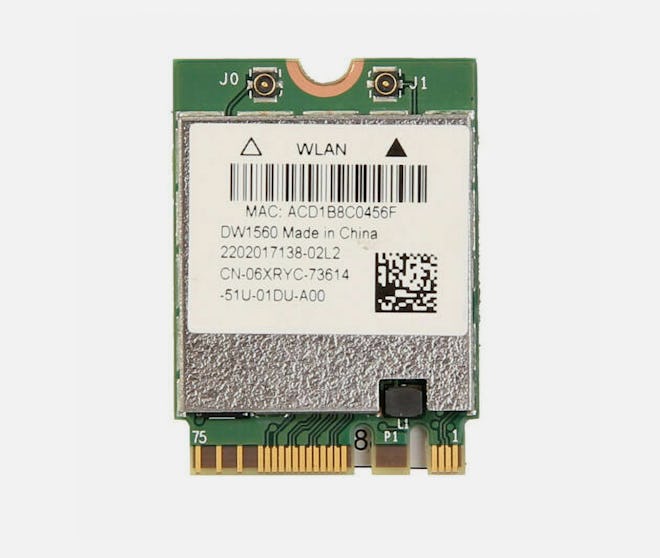
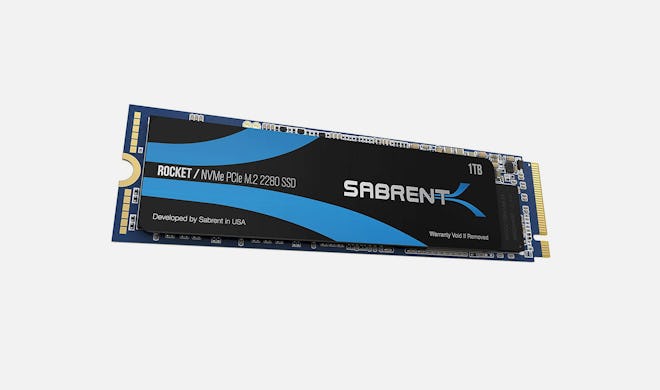
At this point I have my Stealth running macOS Mojave pretty well. I decided to get this Sabrent 1TB drive and the Dell DW1560 Wi-Fi card listed above, though I’m still waiting for the latter to come in the mail. In the meantime I’m using a USB Wi-Fi adapter (like this one), and you should know that it’s not great and I wouldn’t recommend it because it can interfere with sleep. Also, on past versions of macOS you needed to have an internal Wi-Fi card to get iMessage up and running, as well as proper system definitions. Since I’m an Android boy now this doesn’t apply to me, but good luck.
One other thing I’ve noticed is that, in order to get the laptop to run in 25 watt mode (which for me means 2x faster video encoding, among other things) I have to be plugged into the original Stealth charger. Using a real MacBook Pro charger only gives me 15 watts.
That’s it! If you’ve made it this far, congratulations, you’ve got a really cool laptop that runs macOS now. There will probably be things that don’t work perfectly, but for me that’s half the fun.
