Reviews
It’s too damn hard to find a decent laptop shade for working outside
Welcome to the clunky, over-priced reality of laptop sunshades.

I am writing this review from the Great Outdoors, surrounded by instruction manuals that are far too difficult to parse for what they’re describing. I’m hot, I’m frustrated, and yet I’m too stubborn to just give up and go inside.
That last bit is kind of the case with working outside in general. It always seems like a good idea when you’re holed up in an office and blue skies are calling, but once you’re actually outside trying to work, there are suddenly a ton of irritating factors to contend with: the presence of other people (other people having fun, at that), lack of suitable surfaces to prop your laptop on, and, oh, the sun. Half the time, it doesn’t end up being as productive as you’d hoped.
I’ve run into this issue a lot over the last year or so since shifting to a primarily remote work environment for the first time in my professional life. So, I went looking for solutions… and found some, for better or worse.
Theoretically, all you need is some sort of tiny awning to shade your laptop’s screen from the sun. Right? A bit of quick research pointed me to two main styles: the hood and the tent. The former extends from the back of the laptop’s lid like an overhang while the latter is more of a standalone structure that you put all your tech inside. Simple enough. Right? (While you’re also likely to encounter tons of magnetic, click-on privacy screens when searching for this sort of thing, I’ve found those make it more difficult to read in full sun.)
Except, it wasn’t that simple. We’ll get to that in a bit — first, let’s start with what worked.
Under the dome
Input may receive a portion of sales if you purchase a product through a link in this article. We only include products that have been independently selected by Input's editorial team.
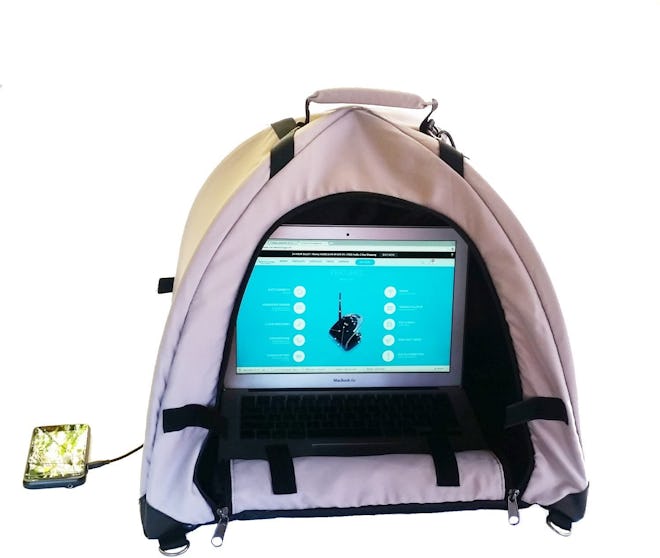
I started out with the LapDome, a literal tent for your laptop, half expecting to hate it because it felt so over-the-top. The obvious drawback of this setup is that it’s extremely conspicuous, edging on silly depending on the setting. But it’s a lot less silly-looking than other offerings in this category and promises a lot of protection. And, I found, it actually ended up working really well.
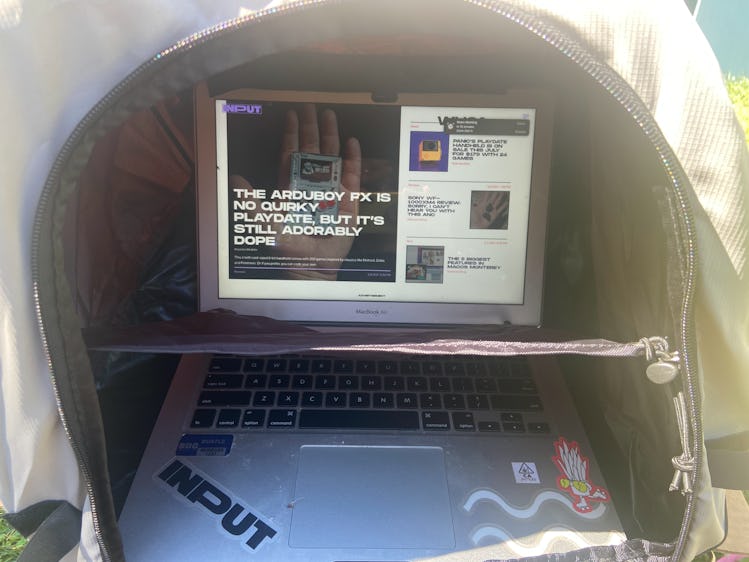
The tent itself isn’t very bulky, and my 13-inch MacBook Air fit inside nicely. This alone provided adequate shade for my needs, but it was made even better by a built-in panel that’s made to sit at an angle between your screen and the keyboard, further reducing any light that might be bouncing around in there. It’s a thoughtful touch, though some might find it takes some getting used to when typing. There are holes to run your various cables through, too, and enough space in the back to tuck away your small gadgets while they charge. Photo editing at the park? No sweat.
I was able to log several uneventful hours of work using the tent in my backyard, which is exactly what I was hoping for. It kept everything free of glare and cool enough, despite being in direct sun and the fact that my laptop is a chronic overheater. I set it up on a stump, using a bit of cardboard beneath it all to provide a flat surface, but it’s small enough that you could plop it on a public table without taking up too much space. Or, even better, place it on the ground so you can sprawl out in the grass.
The LapDome was probably the best of the options I tried in terms of delivering on its promises. The company says you can use the tent as a carrying case for your gear, but this didn’t feel very practical. It would definitely work, but I prefer a snugger package for travel. Instead of doing that, I opted to keep it in its little circular pouch — which is a pretty minimal addition to your load — and just set up/broke it down on site.
While the tent concept at first struck me as a bit extravagant for anyone not doing all their work in the wilderness (the thought there being, “just check the weather before you go out”), three weeks of flash floods in New York has changed my mind. It certainly isn’t cheap, at $60-80 depending on where you buy it, but the price tag falls in line with other products of the style and at least this one will have you covered if you get caught in a surprise drizzle. Bonus: it doubles as a tiny dog cabana.
Hoods up
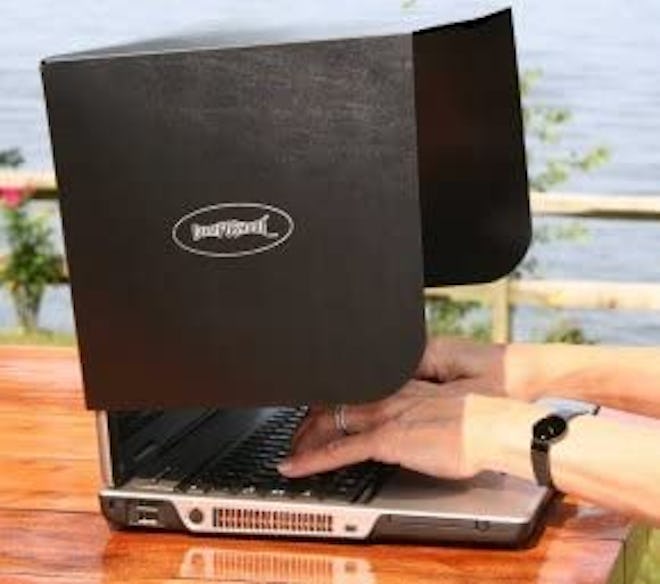
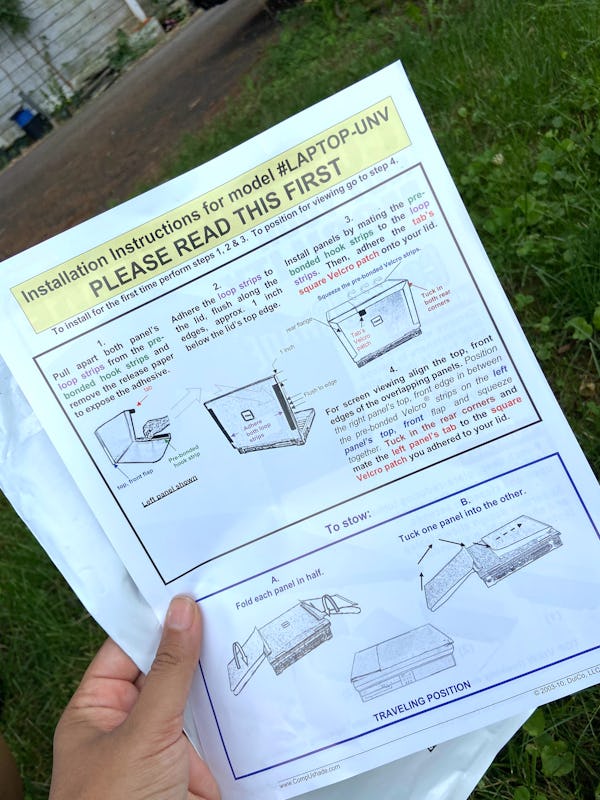
The most budget-friendly of the batch, the Glare Stomper, would have been great were it not for one extremely frustrating design choice: velcro. That, unfortunately, ruined everything.
It costs less than $30, does a good job of shading your screen, and folds down to a neat little package slim enough to fit in your laptop case. It also, of course, came with instructions that were ridiculously complicated for what the product is, but once set up, this visor is a (near) perfect no-frills option.
The sides and upper part of the hood create a three-sided box around the laptop, allowing no light in from the sides or top. It has somewhat of a flimsy feel to it — think those quasi-rigid plastic folders from your school days — but maintains its form well when the parts are all joined together. This brings us to the dealbreaker (for me, at least).
Rather than finding a way to secure the hood with magnets or something similarly removable, the Glare Stomper attaches to the lid of your laptop with strips of velcro. As in, strips of velcro you must adhere to the outside of your laptop. Your sleek, expensive, perhaps carefully stickered laptop housing. The result is hideous, which is really a shame because it seems like this could easily have been avoided.
To work around the issue of ruining your laptop, you could click a cheap case onto your laptop and attach the velcro to that, but what kind of solution is one that creates a problem you then need to fix? Trash, is what it is.

Speaking of disappointments…
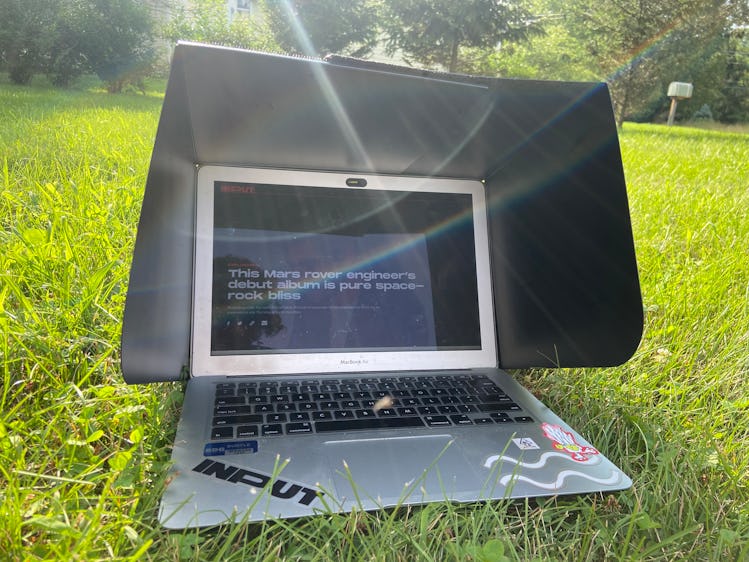
Philbert Designs’ combination sunshade/laptop sleeve seemed like a no-brainer. The shades fold down from the top and sides, creating what are essentially horse blinders for your computer (and you, by extension). There’s no messy setup at all, just unzip the case, tuck your laptop’s corners into the little elastic loops to keep everything in place, and prop the side panels up using the top one to weigh them down. It’s refreshingly simple and does a great job of keeping the sun off your screen.
The problem? The one I got comes built into a case that doubles as a laptop sleeve, which is too small for the laptop it’s advertised to fit.
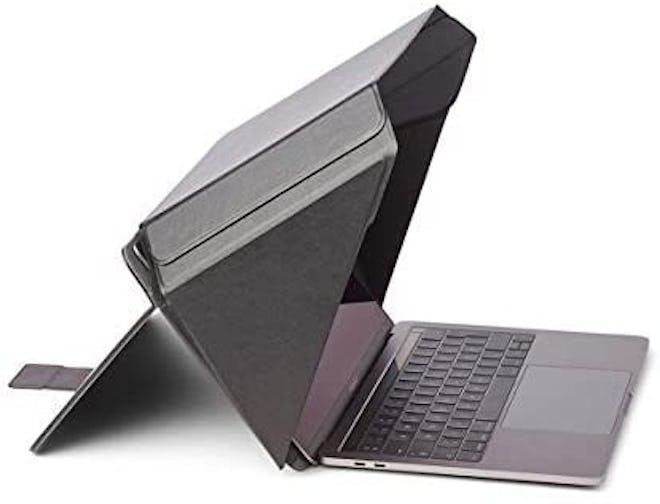
Per the Amazon listing, it “fits MacBook 13" (From 2018-2021)”. It “folds flat for easy transportation. No need to ever remove computer from cover.” That’s complete bullshit, though, because the case is so small you can’t close it even halfway around the laptop. Mine stuck out on every corner, and I couldn’t zip it all the way around even when I tried to force it. Realistically, you’d need to carry your laptop in its usual case and either cram this one in if your bag is big enough or carry it separately. For an $80 product, that’s unforgivable. Thumbs all the way down.
The company also sells a version that comes without a case, and I’m kicking myself for not getting that one. The shielding design is the same and it comes with a back panel to keep your laptop from overheating. In this case, less is clearly more.


All in all...
I’m not saying these products all suck, but it definitely feels like this is one area that’s filled with a lot of overpriced duds. So proceed with caution. If it’s over $40 and it’s not a whole-ass tent, it probably isn’t worth it.
